 Continue with Digital ID
Step 1
Download and install the browser extension compatible with your device’s operating system:
- Windows (ZIP, 2.8MB)This link will download a file – Chrome and Firefox
- MAC OS (ZIP, 1.2MB)This link will download a file – Chrome and Firefox
- Linux (ZIP 146KB)This link will download a file – Chrome and Firefox
See Install a browser extension for full instructions.
Once installed, check your browser settings to ensure it’s enabled (or restart your browser if required).
If you’ve already installed the browser extension, go to Step 2.
Step 2
Using Chrome or Firefox:
Log in to RAMExternal Link
Step 3
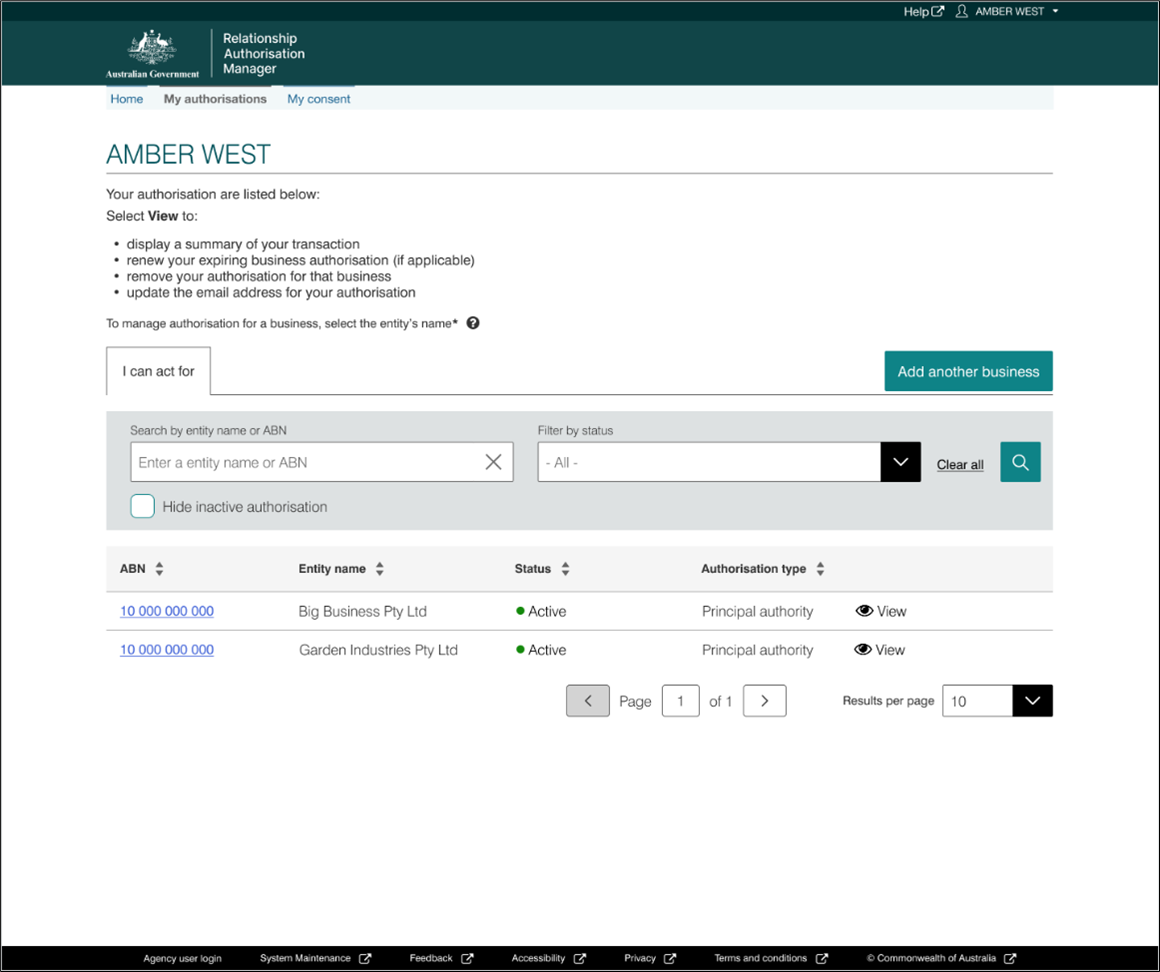
Select View or manage authorisations, machine credentials and cloud software notifications. You will be directed to a view of all the entities you can act for.
Select the entity you would like to create a machine credential for.
Step 4
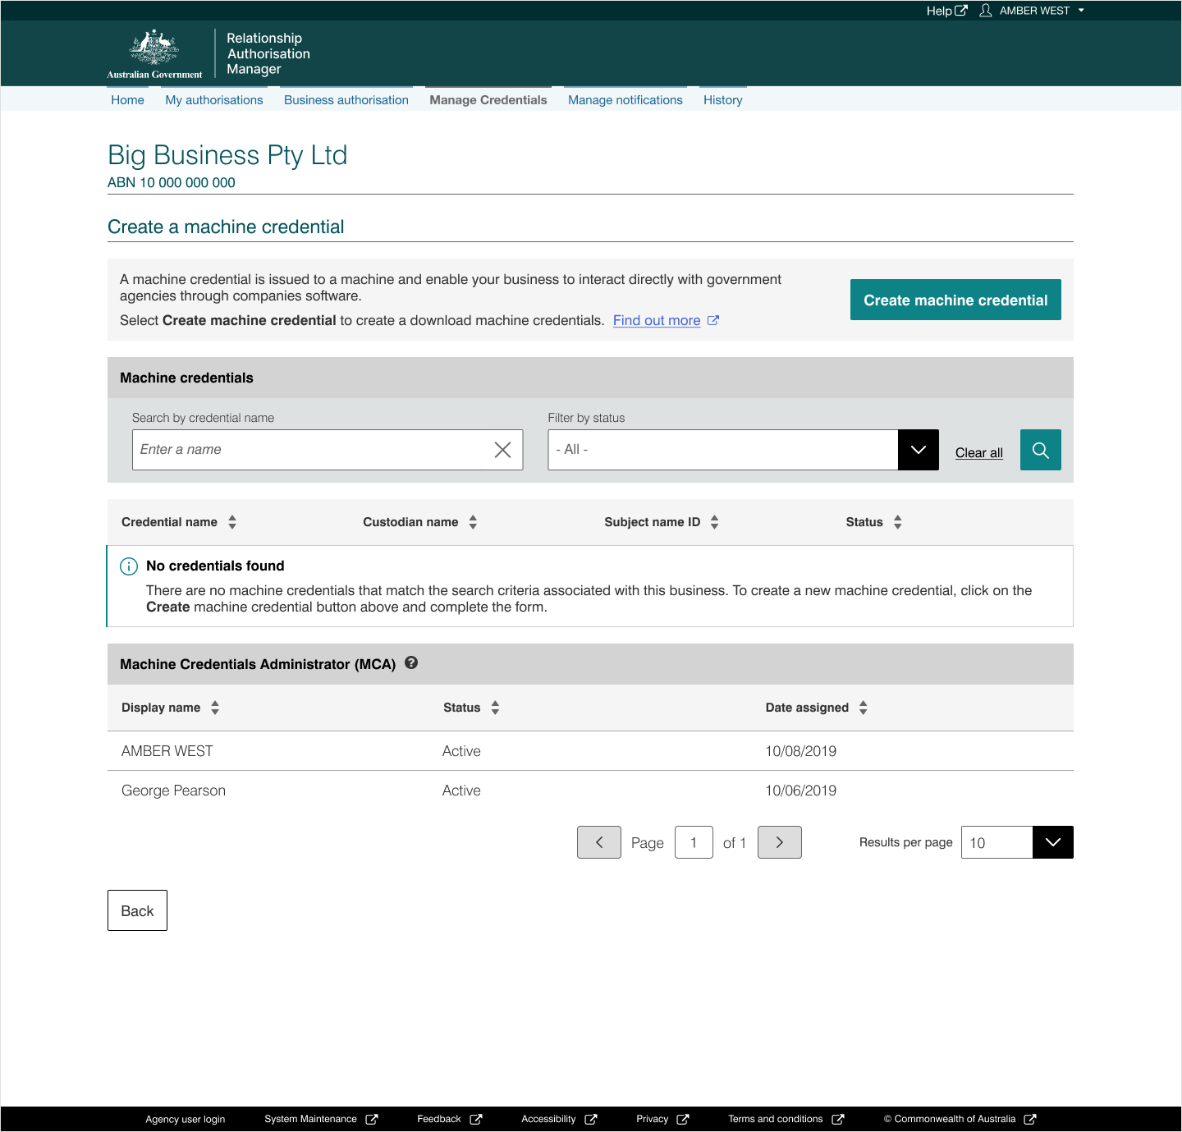
The entity homepage will be displayed with a list of all the authorisations for the entity. Select the Manage credentials tab in the toolbar.
Step 5
Select Create machine credential.
Step 6
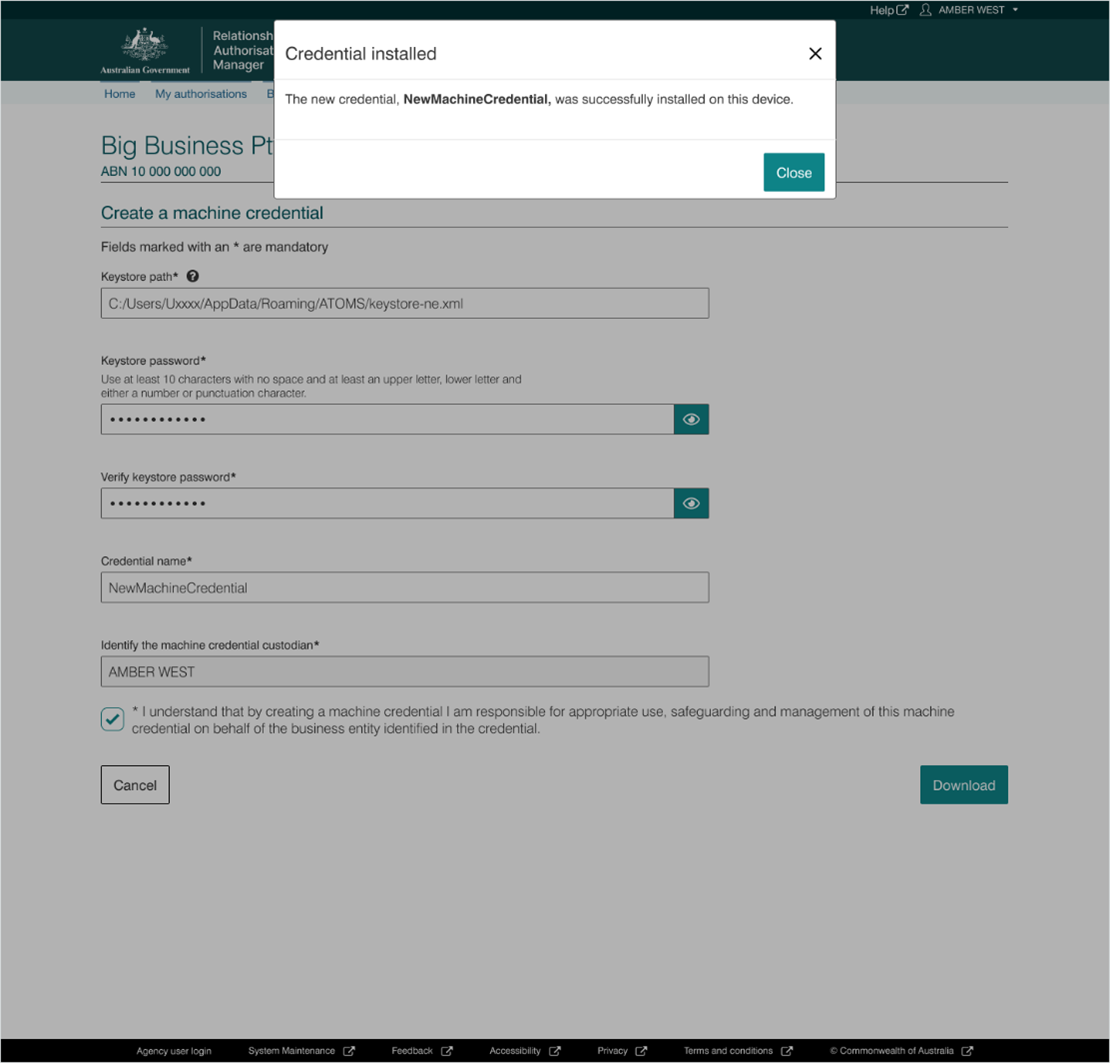
Enter the following information:
- Keystore path – this is where the machine credential will be created and stored, the information will be pre-filled but can be changed if required.
- Keystore password – choose a password that is at least 10 characters (with no spaces) including an upper case letter, a lower case letter, a number and a special character. You’ll provide this password within your software either when setting up or authenticating. You cannot change this password and should not use your myID password.
- Verify your keystore password – re-enter your chosen password.
- Credential name – create a name that will help you to easily identify the machine credential. If you’re creating a new machine credential to prevent expiry of an existing one, use the same credential name.
- Identify the machine credential custodian – this will be pre-filled with your name and cannot be changed.
When creating a machine credential, you can store it in:
- an existing keystore by using the initial keystore path and password
- a new keystore by changing the keystore path and password
- a new keystore each time you create one - you will need to change the keystore path each time you create a new machine credential to do this.
The machine credential keystore is generated in Extensible Markup Language (XML). If your software requires the keystore to be stored in an alternative format, you’ll need to follow the guidance provided by your digital service provider to convert and install the keystore.
If you’re creating a new machine credential to prevent expiry of an existing one, a message will display confirming the new credential will share the same permissions. You’ll need to revoke the existing machine credential if it hasn’t expired yet.
Tick the box to confirm you understand and accept the machine credential details.
Select Download.
Step 7
Once downloaded you will receive a message confirming that the machine credential has been installed.
Step 8
From the Manage credentials page you can create, edit, revoke and claim unassigned machine credentials for the business.